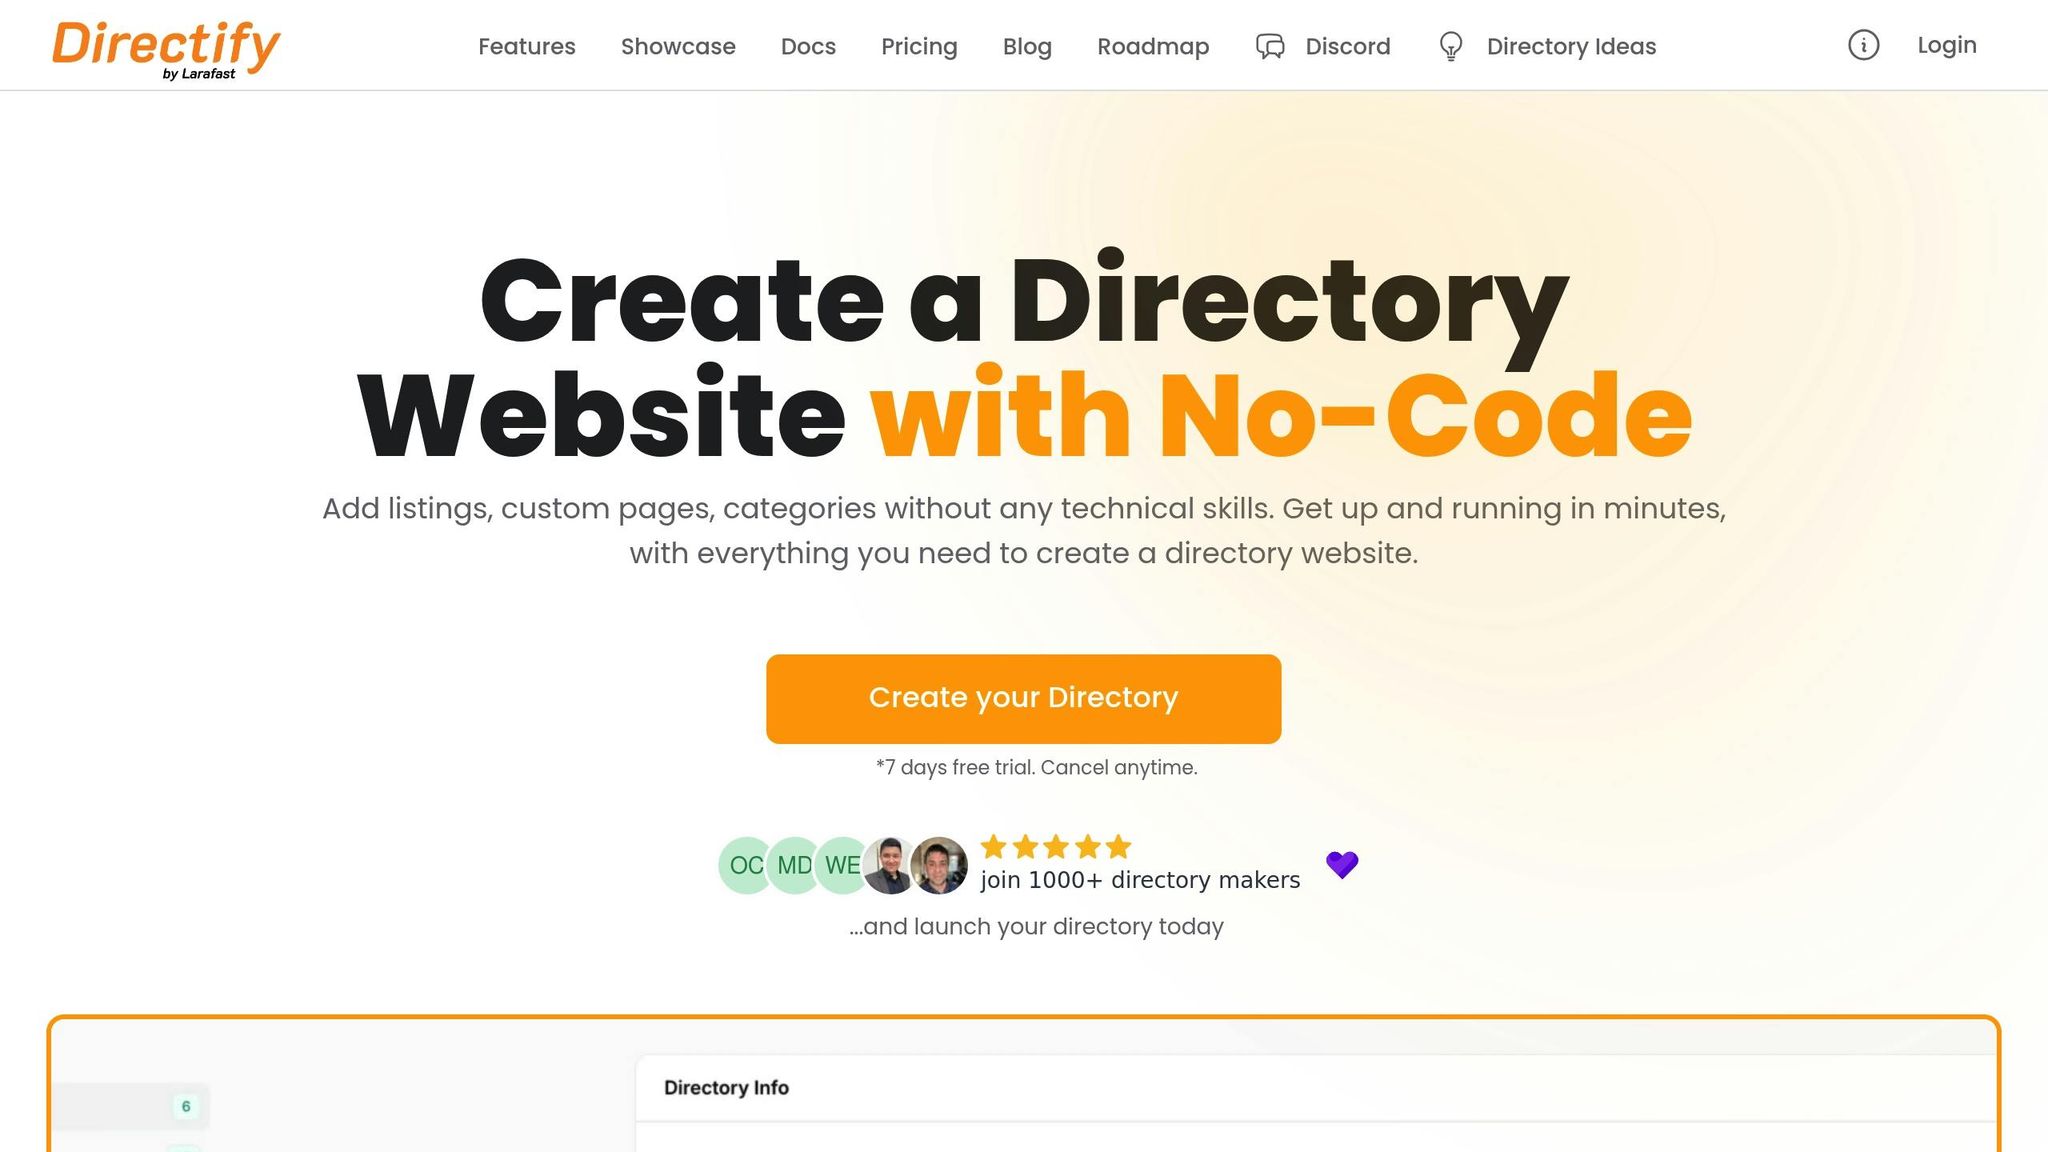
Directories often fail when listings are incomplete or poorly prepared. To succeed, focus on these 10 steps:
Define Goals & Audience: Establish your directory’s purpose, niche, and target users.
Organize Categories: Create clear, logical main and subcategories for easy navigation.
Collect Accurate Info: Verify business names, locations, and contact details.
Write Descriptions: Use simple, keyword-optimized text to attract users and rank higher.
Add Quality Images: Use high-resolution, consistent photos to build trust.
Use Custom Fields: Include relevant details like hours, amenities, or booking options.
Boost Search Rankings: Optimize titles, meta descriptions, and keywords for visibility.
Set Up Payments: Offer premium listings with secure payment options like stripe.com/payments" target="_blank">Stripe.
Test Everything: Check navigation, search, payments, and user experience.
Launch: Review content, connect your domain, and go live.
Why It Matters: Well-prepared listings improve user experience, boost search visibility, and drive revenue. Tools like Directify simplify the process, from organizing categories to integrating payments.
Quick Tip: Before launching, test every feature with real users to ensure smooth functionality.
eDirectory Webinar - Get Your Online Directory Off The Ground
Step 1: Set Your Directory Goals and Audience
Define your directory's purpose and identify your target users. This will help you create listings that fulfill specific needs and align with your business objectives.
Choose Your Directory Focus
Zero in on a niche to provide meaningful value. Consider these key factors:
Primary Purpose: Decide if your directory will feature local businesses, professional services, events, or specialized products.
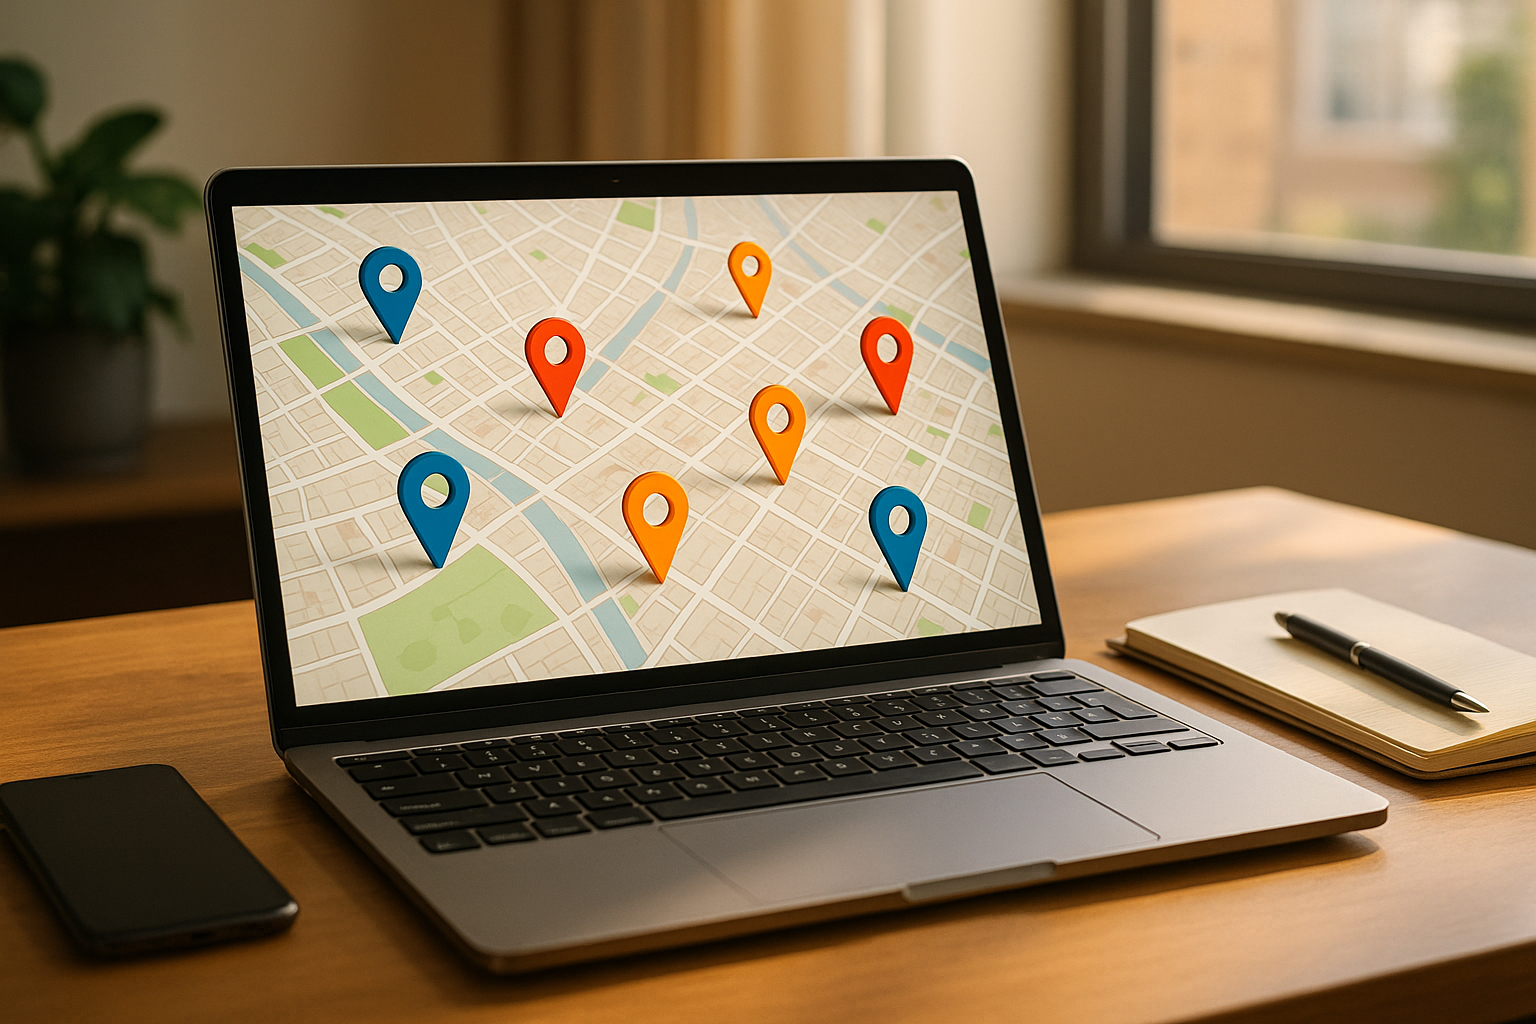
Geographic Scope: Will your directory cater to a local community, a specific region, or have a national or global reach?
Value Proposition: Clearly define what makes your directory stand out.
For instance, Tennis Courts Near Me built a directory featuring over 7,000 tennis courts and clubs across the U.S. By focusing on this specific niche, they made it easy for users to find courts in their area.
Once you've defined your niche, structure your listings to address the unique needs of your audience.
Know Your Users' Needs
Understanding what your audience is looking for is key to building a directory that resonates with them. Follow these steps to ensure your listings hit the mark:
Research User Requirements
Identify common search terms in your niche.
Look for information that's hard to find elsewhere.
Add features that make searches easier and faster.
Focus on User Experience
Plan intuitive navigation for your listings.
Include search and filter options for quick access.
Design your directory to work seamlessly on both mobile and desktop.
Take Safari-List.com as an example. Its founder created the directory after struggling to find a reliable list of luxury safari tours and lodges. By curating a high-quality selection, they provided a trusted resource for users planning luxury safaris.
Leverage tools like Directify's custom fields, advanced search capabilities, and SEO features to bring these ideas to life.
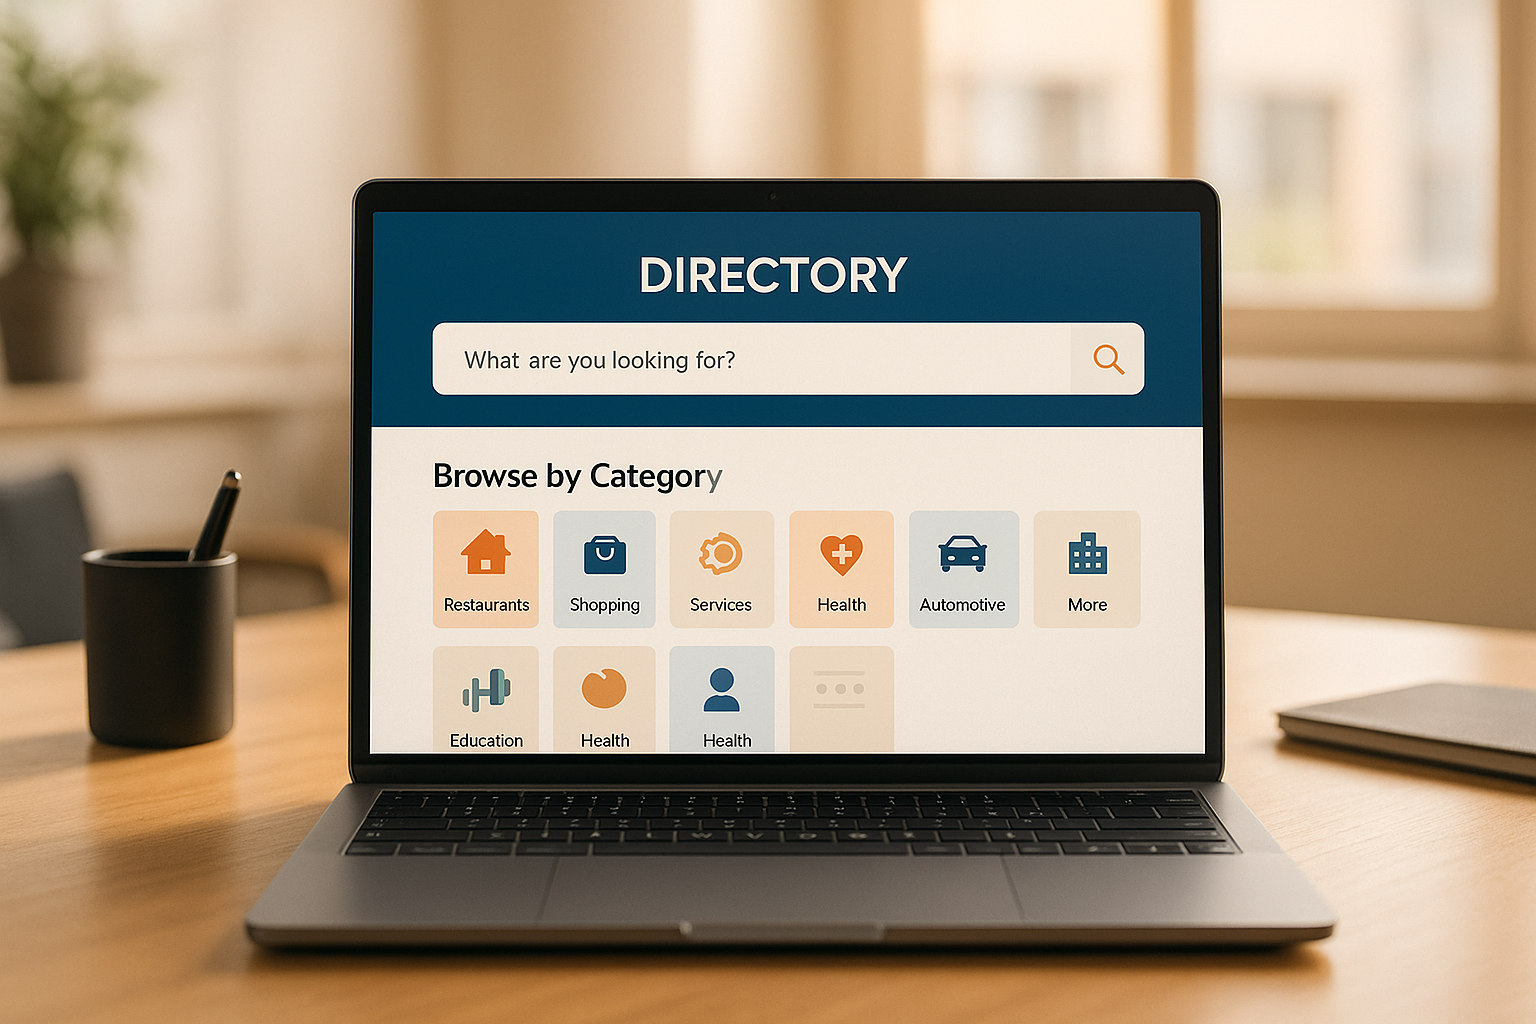
Step 2: Build Your Category Structure
Creating a clear and organized category structure is crucial for any directory. It helps users quickly find what they need by following a logical hierarchy that mirrors how people naturally search.
Set Up Main Categories
Start by establishing broad, top-level categories. Here’s how:
Use clear names: Choose category titles that are easy to understand at first glance.
Group logically: Organize listings into main categories and subcategories for balanced and logical coverage.
Cover everything: Ensure every listing fits into a relevant category without exceptions.
With Directify, setting up a hierarchy is simple. You can create both primary and nested categories to organize your listings in a way that makes sense for your directory. Once your main categories are in place, focus on simplifying them for smoother navigation.
Keep Categories Simple
After laying the groundwork, refine your structure to make it even more user-friendly by following these tips:
Avoid overlaps: Assign each listing to one primary category to prevent confusion.
Use familiar terms: Stick to commonly used language that users will recognize.
Stay consistent: Apply the same naming style across all your categories.
Limit depth: Keep the structure shallow by focusing on main categories and only adding subcategories when absolutely necessary.
For instance, if you’re building a restaurant directory, merge similar categories like "Italian Dining", "Italian Restaurants", and "Italian Eateries" into one "Italian Restaurants" category. This reduces confusion and makes navigation easier.
Directify’s tools make it easy to update your structure as your directory evolves. You can move listings between categories or reorganize without disrupting your existing setup.
Step 3: Check and Collect Listing Information
Once your structure is ready, it's time to ensure every listing's details are accurate and well-organized.
Gather Essential Details
Start by collecting the core information for each listing:
Business Name: Use the official, legal name of the business.
Location Details: Include the primary physical address.
Contact Information: Add active phone numbers, email addresses, and website URLs.
For a smoother process, you can import data using tools like CSV files or Google Sheets integration with Directify.
Verify Information for Accuracy
Accurate listings build trust. Here's how to ensure the details are correct:
Test and verify contact details, like emails and phone numbers.
Cross-check all information with official business websites.
Use data validation tools to spot common issues, such as:
Incorrect phone number formats
Invalid email addresses
Incomplete addresses
Missing required fields
For ongoing accuracy, consider enabling automatic updates through Google Sheets integration.
Step 4: Write Clear Listing Descriptions
Writing clear and optimized descriptions can boost both engagement and search rankings. A well-crafted description serves as a bridge between your business and potential customers.
Write Simple, Direct Text
Start with the basics - cover the core details about the business or service. This includes operating hours, service areas, and what makes your business stand out.
Maintaining a consistent structure can make your description look polished. Break it into sections: a short overview of your business, a list of key features or offerings, and additional information like hours of operation or amenities.
Once the structure is in place, enhance your listing by incorporating elements that improve search visibility.
Add Search-Friendly Content
Make your descriptions work harder by optimizing them for search engines:
Use keywords strategically: Sprinkle relevant keywords naturally throughout the text. For example, a restaurant listing might include terms like "Italian cuisine", "downtown location", or "family-friendly dining." You can also add secondary keywords like "outdoor seating" or "affordable menu."
Include detailed information: Add specifics such as business hours, service areas, payment methods, and accessibility features. These details not only help customers but also improve search performance.
Directify's custom fields make it easy to organize and structure these elements consistently.
Step 5: Select Quality Images
Good images can help build trust and set clear expectations for your audience.
Use High-Resolution Photos
Choose clear, high-resolution photos that highlight important details, such as the storefront, interior, products, or team. These visuals make your listing more relatable and help potential customers feel connected.
Keep a Consistent Style
A uniform visual style gives off a professional vibe. Stick to similar formats and sizes for your images. Tools like Directify's built-in theme system can adjust images to look great on any device. This consistency ties in with your directory's overall design and ensures your listings are ready to go.
sbb-itb-adc1e8a
Step 6: Add Custom Fields
Once your listings are structured and descriptions are clear, take it a step further by adding specific details through custom fields.
Choose Relevant Fields
Think about what information your users need most. For example, a tennis court directory might include fields for surface type, lighting, and booking options. On the other hand, a safari directory could feature fields for group size, activities, accommodations, peak seasons, and transportation.
Tailor your fields to match the needs of your audience. A listing for a high-end safari lodge, for instance, should emphasize amenities and booking details, while a tennis court directory would focus on facility-specific features.
Once your search data is optimized, adjust technical settings to further improve rankings.
Rich Snippets Setup
Add structured data to enhance how your listing appears in search results.
Include details like business hours, customer ratings, and pricing.
Ensure contact information is formatted correctly.
Technical Optimization
Enable automatic sitemap generation to make your site easier to crawl.
Use clean and logical URL structures for categories and listings.
Implement breadcrumb navigation to improve user experience and search indexing.
Step 8: Set Up Payment Options
Start generating revenue from your directory by offering premium listings and integrating payment systems.
Create Premium Listings
Design tiered packages with clear perks for paying users, such as:
Visual badges to make premium listings stand out
Longer character limits for detailed descriptions
Multimedia galleries to highlight products or services
Priority customer support access
Tools for tracking listing performance and analytics
Once you've outlined these premium features, implement a secure payment system to handle transactions smoothly.
Add Payment Methods
Set up a reliable and secure payment process by following these steps:
Connect your Stripe or Lemon Squeezy account to handle payments securely.
Configure automatic billing to save time and reduce manual work.
Automate receipts and payment confirmations for a seamless user experience.
Enable support for multiple currencies to cater to international users.
Best Practices for Payment Integration
Display prices in USD with clear, upfront terms.
Offer both monthly and annual billing options.
Use automated tools for billing, invoice generation, and renewal reminders.
Clearly outline refund and cancellation policies.
Protect transactions with SSL encryption.
Set up a system to handle failed payments efficiently.
Directify simplifies payment management, taking care of the technical aspects so you can concentrate on building your directory’s revenue stream.
Step 9: Test Everything
Before launching, it’s time to ensure everything in your directory works as intended. Testing helps catch issues and guarantees a smooth experience for users.
Check All Features
Use a detailed checklist to review key functions of your directory:
Navigation Testing
Make sure all category links work.
Test breadcrumb navigation for accuracy.
Verify menu items lead to the correct destinations.
Check how the site performs on mobile devices.
Search Functionality
Test keyword searches and filters.
Ensure search results are accurate.
Evaluate search speed and overall performance.
Listing Management
Test the process for submitting listings, including image uploads and custom fields.
Check any premium features for listings.
Confirm custom fields display correctly.
Payment Processing
Test transactions through Stripe.
Verify payment confirmations are sent.
Ensure premium listing upgrades work seamlessly.
Test automatic billing functionality.
Ask for User Input
Gather feedback by forming a test group of 10-15 users from your target audience. Assign them tasks to evaluate the directory.
1. Test Group Tasks
Create and submit new listings.
Search for businesses using keywords and filters.
Upgrade listings to premium options.
Explore categories and navigate the site.
Enter and test payment information.
2. Structured Feedback
Organize feedback using clear evaluation criteria:
Testing Area
Evaluation Criteria
User Interface
Ease of navigation, visual clarity, mobile usability
Page load speed, image display, search response time
Content
Clarity of descriptions, category organization, help documentation
3. Log and Prioritize Issues
Track issues and address them based on urgency:
Fix critical functionality problems first.
Make improvements to enhance user experience.
Optimize performance where needed.
Update any unclear or incomplete content.
Directify’s built-in tools can simplify the process of identifying and resolving these issues, helping you prepare for a smooth launch.
Step 10: Review and Launch
After completing testing and collecting feedback, it's time for a final review before making your directory live.
Double-Check Your Content
Go through your directory one last time. Make sure all listings include correct details, well-written descriptions, and high-quality images. Also, confirm your category structure and custom fields are applied consistently throughout.
Launch Using Directify
When you're confident everything is ready, launch your directory with Directify. Here's how:
Activate your subscription plan
Connect your custom domain
Enable SEO settings
Publish your directory
Directify simplifies the process so you can focus on growing your directory without worrying about technical challenges.
Conclusion
Creating a successful directory website requires careful planning and focused execution. By following these 10 steps, you can build a strong foundation that aligns with your business objectives while addressing users' needs. This structured approach ensures every detail contributes to a well-functioning, efficient directory.
High-quality content and thorough testing are key to delivering accurate listings with clear descriptions and engaging visuals. Proper categorization is equally important, as it creates a user-friendly browsing experience that keeps visitors coming back. Each step plays an important role in crafting a directory that attracts users and supports growth.
Directify simplifies the process with its powerful tools - over 1,000 SEO-ready directories have been launched using its features. According to one expert:
"Directify is a directory-as-a-service platform that allows anyone to create, customize, and launch a directory website quickly and easily. No technical skills or hosting setup is required, making it ideal for non-tech users."
Directify
Launching your directory is just the beginning. Monitor its performance, gather user feedback, and make ongoing improvements. From organizing categories to rigorous testing, every element matters. With solid preparation and the right tools, your directory website can grow and effectively serve its audience.
Ready to Build Your Directory?
Start creating your professional directory website today with Directify's no-code platform.