Importing data into no-code directory builder directories like Directify can save you time and reduce errors. Instead of manually entering listings, categories, or blog articles, you can bulk upload data using tools like CSV files or Google Sheets integration. This guide will show you how to prepare, import, and manage your data effectively.
Key Takeaways:
Why Import Data?: Speeds up setup, ensures accuracy, and allows bulk updates.
How to Prepare Data:
Clean and standardize fields (e.g., consistent dates, phone formats).
Remove duplicates and validate key information.
File Formats:
Use CSV for bulk uploads.
Use Google Sheets for real-time updates and collaboration.
Import Steps:
Use Directify's import tools to upload and map fields.
Run test imports to catch errors like missing fields or formatting issues.
Automation Options:
Schedule updates with Google Sheets integration.
Manage large datasets using batch processing and incremental updates.
Supports formulas, data validation, and multiple sheets
Directify supports importing data using CSV files for listings, categories, and blog articles. For ongoing management, Directify also integrates with Google Sheets, allowing real-time updates and team collaboration.
With your data cleaned up and the best file format selected, you’re ready to move on to importing it into your directory.
Import Methods
Picking the right import method is key to transferring data efficiently and accurately. It helps reduce errors and speeds up directory setup.
CSV Import Guide
CSV files are great for handling large-scale data imports, such as:
Match your file's headers to the directory's fields.
Separate data using commas and save the file as .csv.
Double-check column alignment and ensure all required fields are filled.
Validate any special characters for proper encoding.
For ongoing updates, consider tools like Google Sheets to simplify the process.
External Data Integration
Using external integrations, such as Google Sheets, allows for real-time data syncing. This is especially helpful when frequent updates are necessary.
Why Google Sheets Integration Works:
Feature
What It Does
Real-time Sync
Updates instantly reflect in your directory.
Collaborative Editing
Allows multiple team members to make changes.
Version Control
Keeps a history of edits and tracks changes.
Automated Updates
Lets you schedule regular data refreshes.
How to Set It Up:
Prepare Your Spreadsheet
Use clear column headers that match your directory fields.
Format your data correctly to avoid errors.
Set Up Sync Options
Choose between manual or automatic syncing.
Define how often updates should occur.
Monitor Your Data
Keep an eye on successful imports.
Resolve any sync issues quickly.
"Directify offers seamless Google Sheets integration, allowing users to import existing data directly from Google Sheets into their directory. This makes it easy to populate the directory with content already organized in spreadsheets".
sbb-itb-adc1e8a
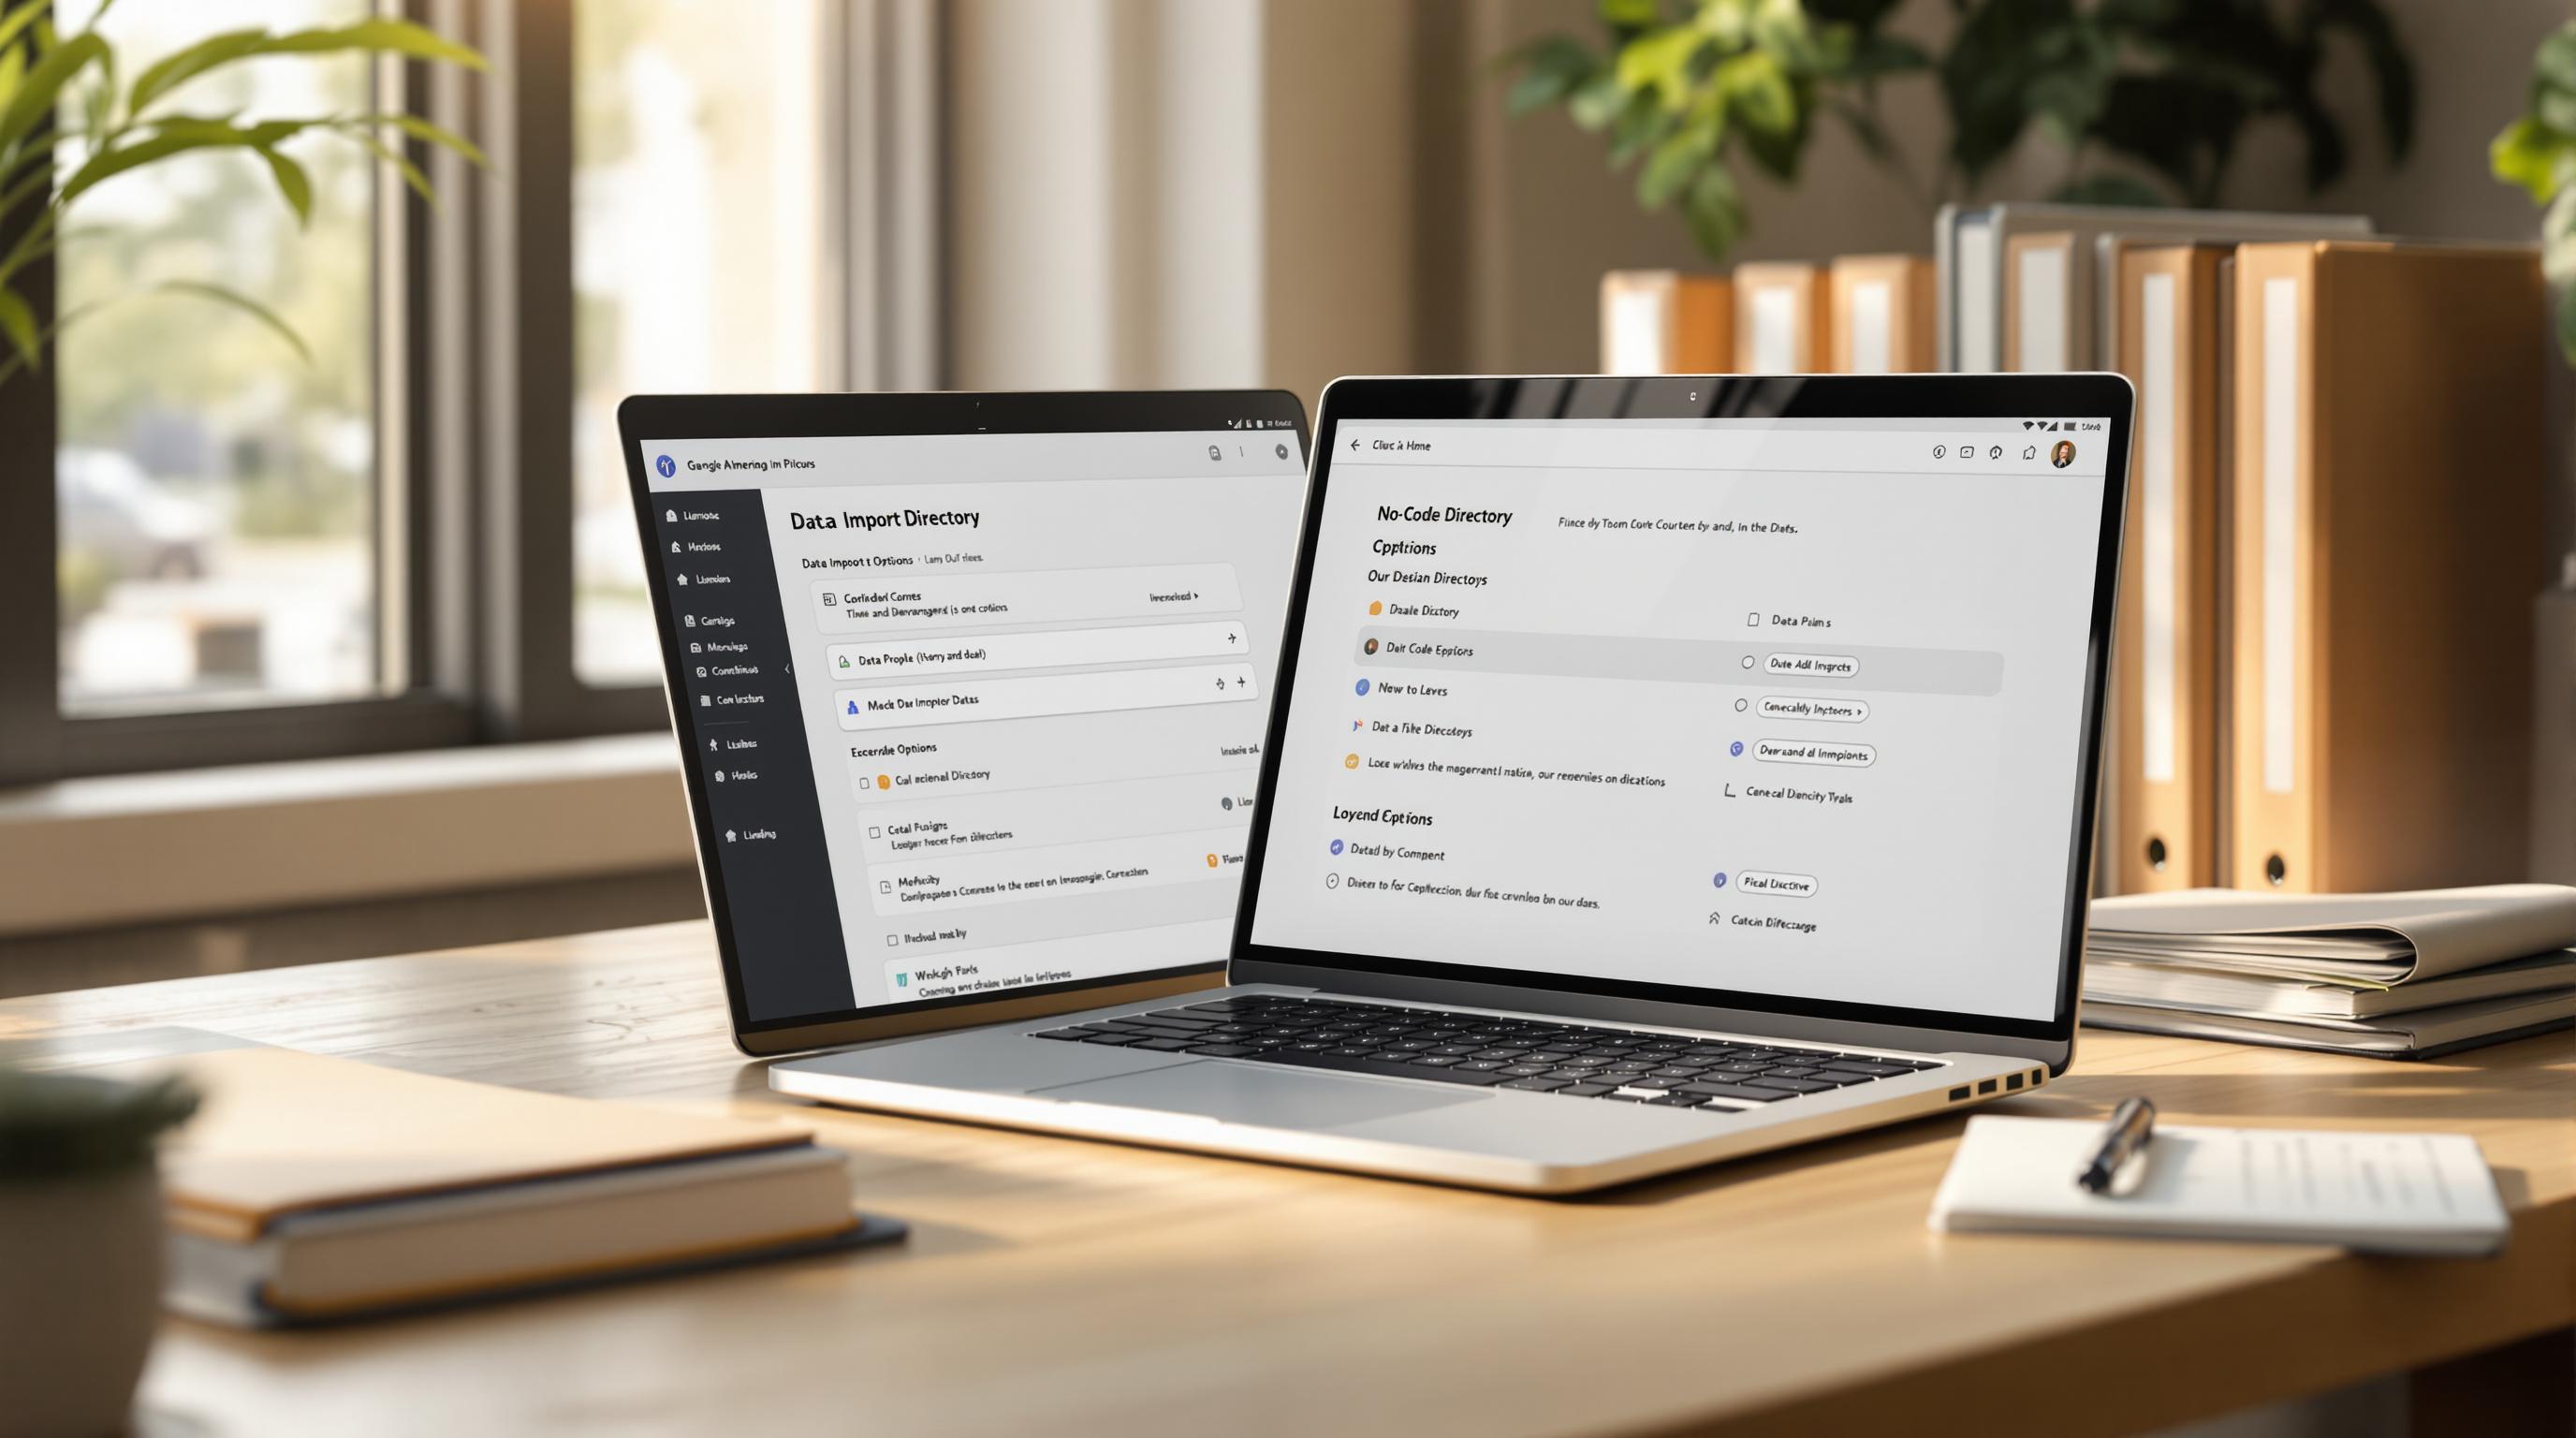
Import Process Steps
Accessing Import Tools
You can find Directify's data import tools in the main dashboard under the Data Management section. These tools support both CSV imports and Google Sheets integration.
To start your import:
Click on "Import Data" in the dashboard.
Browse and select the appropriate template for your import type.
Adjust your import settings as needed.
This is just the first step in organizing your data import process. Next, you'll need to map your data fields to match your directory's structure.
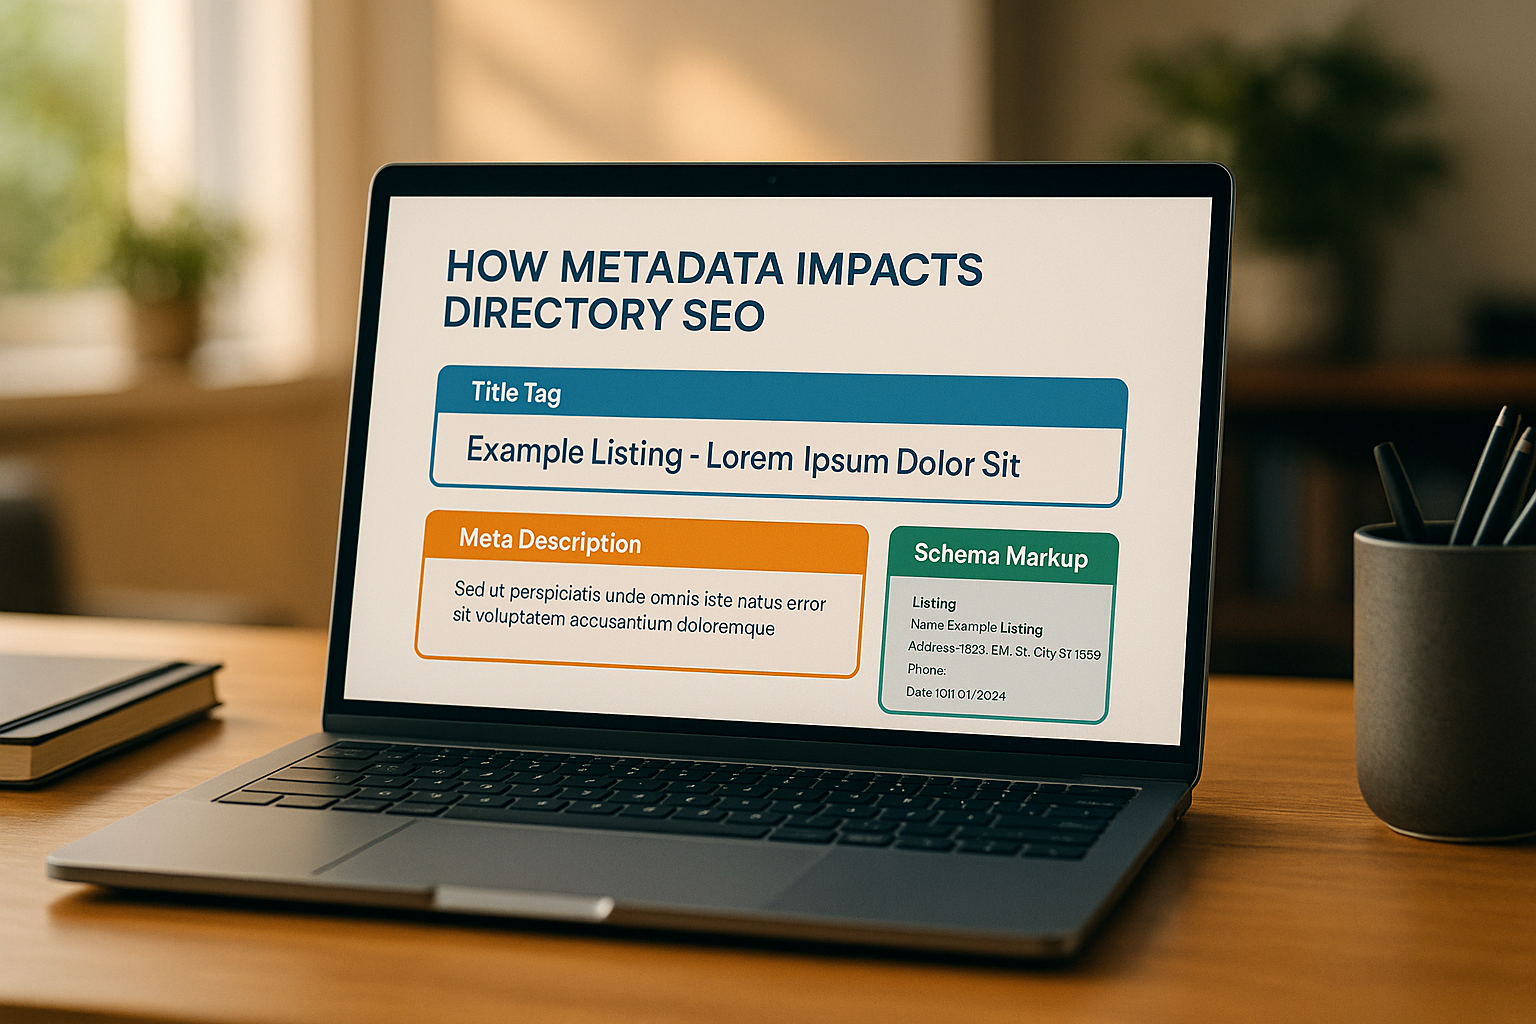
Field Mapping Instructions
Directify's mapping interface places source and target fields side by side, making it easy to align them.
Here’s how to map your fields effectively:
Review source fields: These include common fields like Title/Name, Description, Categories, Contact Information, and any Custom Attributes.
Map to target fields: Ensure all required fields (marked with an asterisk) are matched, check that date formats follow MM/DD/YYYY, currency symbols use "$", and multi-select values are comma-separated.
Run a test import: Use a small sample of your data to verify that the fields align correctly.
After confirming your mapping, you can move on to addressing any errors during the import.
Handling Errors
Once you've selected the right tools and completed field mapping, managing errors is key to a smooth import. Directify provides real-time error reporting and practical solutions for common problems.
Here’s a quick guide to common errors and fixes:
Error Type
Cause
Solution
Missing Required Fields
Mandatory fields left blank
Fill in all required fields
Format Mismatch
Incorrect date or number formats
Adjust to US formatting standards
Character Encoding Issues
Special characters not displaying
Switch to UTF-8 encoding
Duplicate Entries
Duplicate unique field values
Remove or merge duplicates
Directify processes imports in batches, allowing you to pause, review, and resume as needed. The platform also keeps a detailed activity log to help you track and resolve issues efficiently.
Import Automation
Scheduled Imports
Google Sheets can simplify automatic synchronization between spreadsheets and your directory. You can set how often updates occur based on your data's refresh rate. Enable error notifications to catch issues early, monitor sync progress through the Directify dashboard, and schedule backups before making significant updates.
To avoid sync errors, keep your source files structured consistently. These steps make it easier to handle large datasets without unnecessary complications.
Large Dataset Management
Handling large datasets requires strategies to prevent system overload and ensure smooth imports. Here's a quick guide:
Strategy
Purpose
How to Implement
Batch Processing
Prevent overload
Split data into smaller batches
Data Validation
Maintain quality
Perform checks before importing
Incremental Updates
Save time
Import only modified records
Performance Monitoring
Improve speed
Track metrics during imports
Start with bulk uploads using CSV files, then manage ongoing updates through Google Sheets integration.
For better results:
Schedule imports during low-usage times.
Keep your source data clean and well-organized.
Monitor system resources during imports.
Maintain detailed logs for troubleshooting and review.
Common Import Problems
Fixing Format Errors
Formatting issues in CSV files can cause problems during the import process. Some typical errors include:
Using the wrong delimiters (e.g., semicolons instead of commas)
Special characters displaying incorrectly due to improper UTF-8 encoding
Mixing different date formats within the same file
To avoid these issues, export a sample CSV template from the Directify dashboard. Use this template as a reference to ensure your file's structure is correct. Pay close attention to the following:
Common Issue
Solution
Prevention Tip
Invalid Characters
Remove special characters from the file
Use text cleanup tools before importing
Date Format Mismatch
Standardize to MM/DD/YYYY format
Apply consistent date formatting rules
Column Misalignment
Adjust delimiter settings in your file
Validate the CSV before importing
After fixing formatting errors, check for duplicate entries to ensure your data remains accurate.
Handling Duplicate Data
Keeping your data accurate during imports is essential. To identify duplicates, focus on key fields like:
Unique identifiers, such as account or customer numbers
Use a step-by-step approach: review your source data for duplicates, enable Directify's duplicate detection feature during the import, and run cleanup reports after the process is complete.
Once duplicates and formatting issues are addressed, prepare to recover from any remaining errors.
Recovering from Import Errors
Here’s how to handle errors during imports without losing data:
1. Immediate Actions
Export your current directory data as a backup using Directify's export feature (available in CSV or Excel formats) to create a restore point.
Check the import logs for error messages to identify specific issues.
2. Analyze the Errors
Look for incomplete rows or missing required fields in your source file.
Confirm that the file is encoded in UTF-8.
Check for mismatches in data types for key fields.
3. Recovery Steps
Perform a test import with a small batch of 10–20 records to ensure your fixes are working.
Once the test is successful, proceed with importing the entire dataset.
Summary
Importing data into no-code directories involves careful preparation, execution, and ongoing management to ensure smooth processes and accurate results.
Data Preparation
Clean and standardize data: Make sure your data is well-organized and consistent before importing.
Format required fields: Double-check that all necessary fields are properly formatted.
Import Methods
Here are some of the best ways to import data into Directify:
Method
Best For
Key Advantage
CSV Import
One-time bulk transfers
Full control over data formatting (UTF-8)
Google Sheets Integration
Regular updates
Real-time synchronization
API Integration
Large datasets
Automated data flow
Process Management
To ensure a smooth import process, follow these practices:
Back up your data before starting any import to prevent loss.
Test with small samples of 10–20 records to identify potential issues early.
Confirm field mappings during the import and validate with a sample.
Monitor logs for any errors or warnings during the process.
Automating data synchronization can reduce manual work and improve efficiency.
Post-Import Validation
After importing, take these steps to ensure data accuracy:
Randomly review entries to check for errors or inconsistencies.
Confirm required fields are complete and properly filled.
Verify field formats to ensure everything aligns with the expected structure.
Ready to Build Your Directory?
Start creating your professional directory website today with Directify's no-code platform.