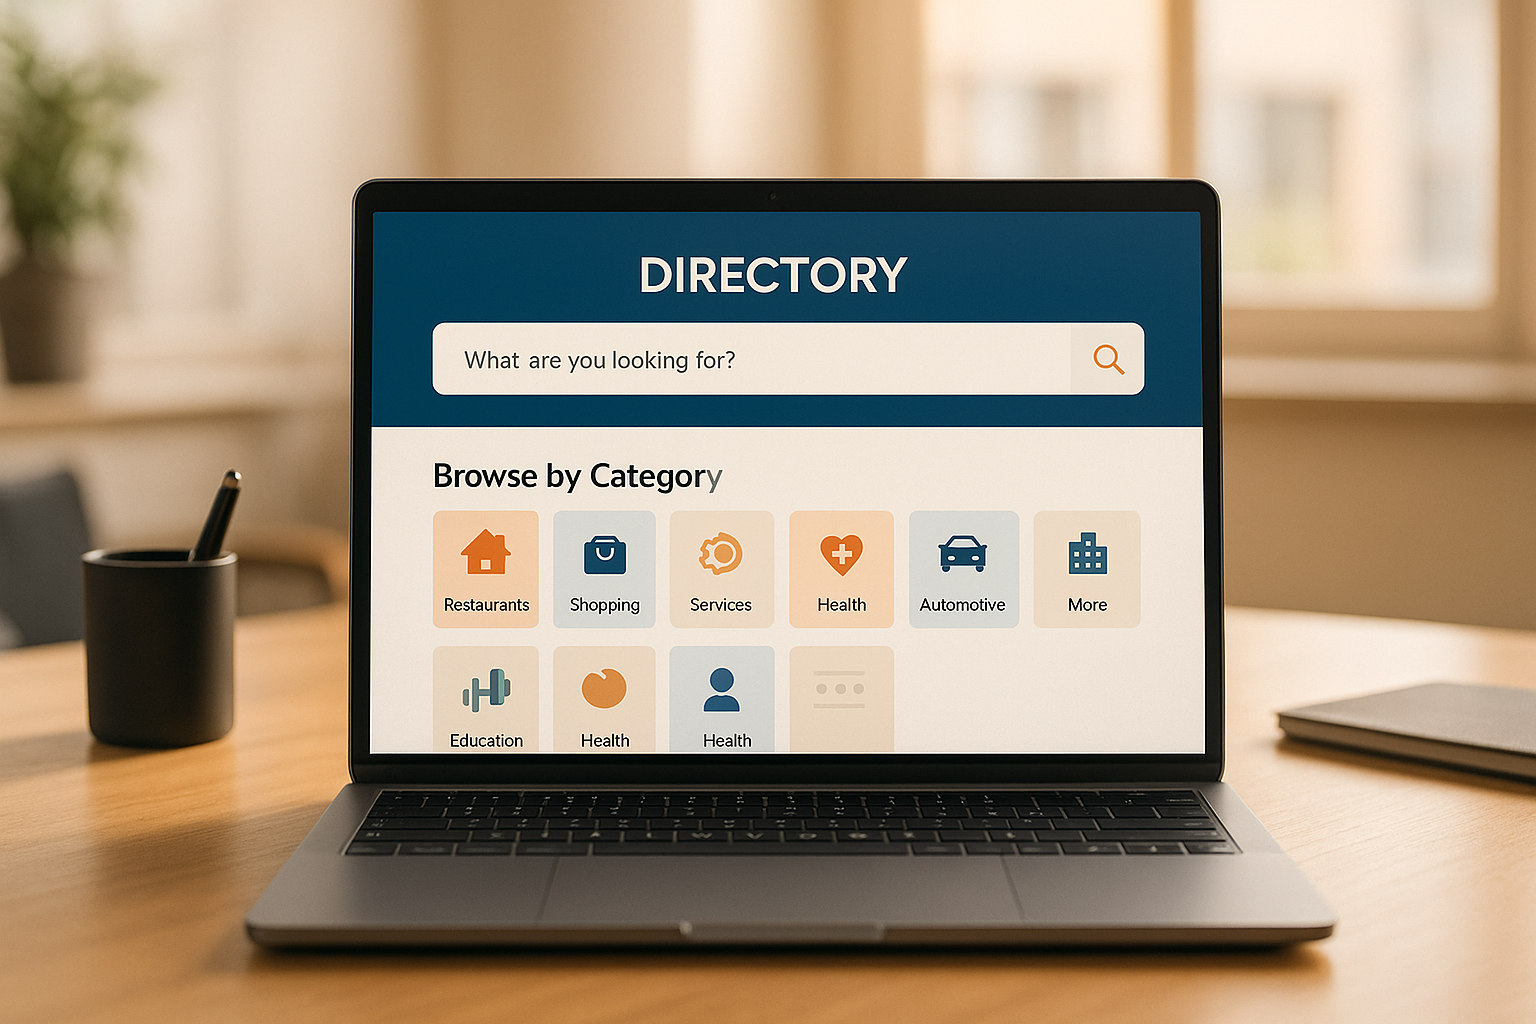

As the demand for AI agents and autonomous tools grows rapidly, having a curated directory of these resources can be incredibly valuable—whether for enthusiasts, developers, or businesses. With Directify, creating a professional-looking, searchable AI Agents Directory takes minutes, not weeks. In this guide, we’ll walk you through how to build your own directory from scratch—no coding needed.
⸻
AI agents are transforming industries, from customer support to research automation. A public or niche directory can: • Help others discover useful tools • Generate affiliate revenue • Grow a community • Position you as an expert in the space
⸻
•	A free or paid Directify account
•	A list of AI agents (e.g., from GitHub, Product Hunt, or your own research)
•	Descriptions, images, and links for each entry
⸻
1. Start a New Directory • Log into Directify • Click “Create New Directory” • Choose a name like AI Agents Directory or Awesome AI Agents
💡 Tip: You can change the name anytime, so don’t overthink it!
⸻
2. Pick a Niche or Category System
To make the directory easy to navigate, break it down into categories such as: • Autonomous Research • Sales & Outreach • Customer Support • Coding Assistants • Multi-agent Frameworks
Set these up in the Category section during setup.
⸻
3. Customize the Design
Make your directory stand out with: • A custom logo or favicon • Dark or light theme • Custom header and call-to-action (e.g., “Submit an AI Agent”)
🎨 Bonus: Use AI-generated logos or icons to add a futuristic vibe.
⸻
4. Add Listings
Each AI agent listing should include: • 🧠 Name of the Agent • 📝 Description (What it does) • 🔗 Link (Website, GitHub, or product page) • 🖼 Thumbnail or logo • 🏷 Tags (like “GPT-4”, “Open Source”, “Free”, etc.)
You can bulk upload or add them one by one.
⸻
5. Enable Search & Filters
Make it easy for users to find what they need by enabling: • Full-text search • Category filtering • Tag-based browsing
⸻
6. Add a Submission Form
Crowdsource your directory! Enable the “Submit Listing” feature so other AI enthusiasts can contribute.
⸻
7. Launch & Promote
Now that your directory is live: • Share it on Twitter, Reddit, and AI communities • Start creating SEO articles and target AI keywords
⸻
🧩 Example Use Cases • AI Founder Toolkit: Curate only B2B agents and tools for startups • Open Source Agents: Focus on GitHub projects • Niche-Specific: Agents built for real estate, healthcare, finance, etc.
⸻
Once you get traction, monetize through: • Affiliate links • Sponsored listings • Paid features or tiers • Newsletter sponsorships
⸻
💬 Final Thoughts
Creating an AI Agents Directory is not just a fun project—it’s a way to provide real value to the community and stay ahead in the AI space. With Directify, you can focus on curation and growth, not code.
Ready to launch yours? Get started with Directify and build something awesome today.
Start creating your professional directory website today with Directify's no-code platform.
Get Started Free


